
Results 1 to 10 of 23
Thread: Ruger Blackhawk grips
-
February 14th, 2010, 10:30 PM #1
 Grand Member


- Join Date
- Jan 2007
- Location
-
Somewhere,
Pennsylvania
- Age
- 41
- Posts
- 1,171
- Rep Power
- 2090519
 Ruger Blackhawk grips
The roads around my place were pretty bad this morning, so I didn't go the the group shoot. I had to do something gun related today, so I made some grips for a blackhawk.
Here's the process:
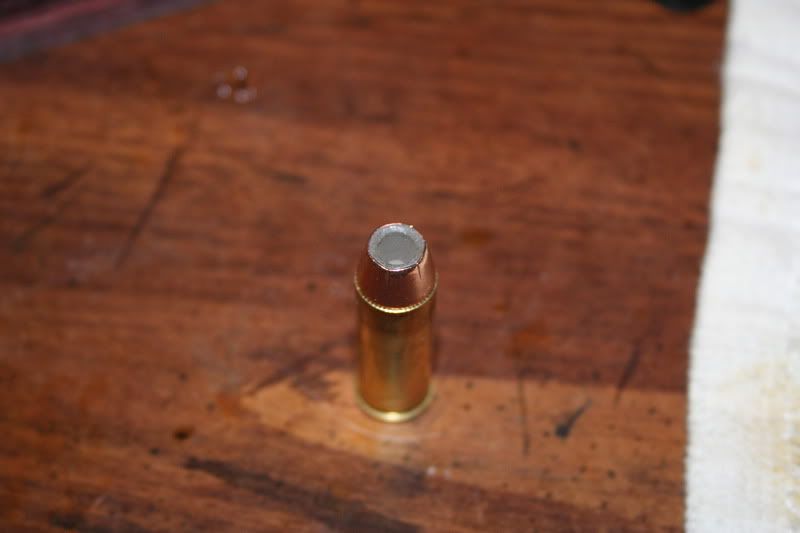
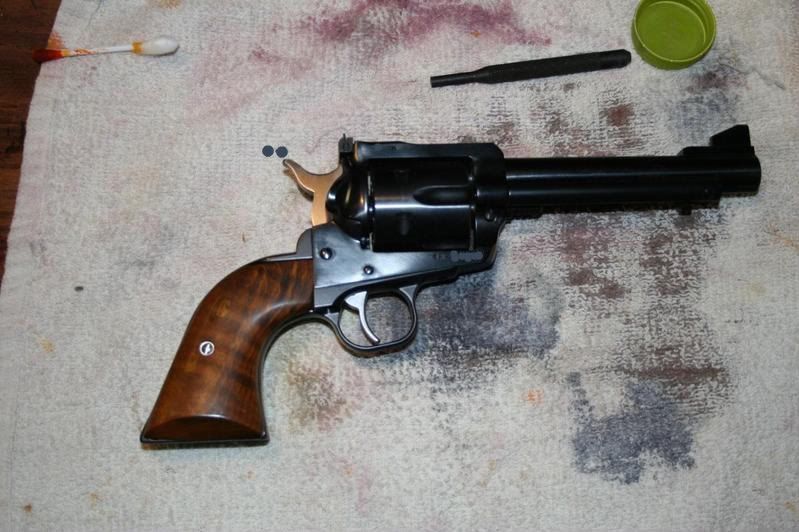
Make sure the gun is NOT loaded
We wouldn't want one of these little guys to go zinging through a neighbor's house or worse. Besides that, it would be a waste of a perfectly good cartridge!
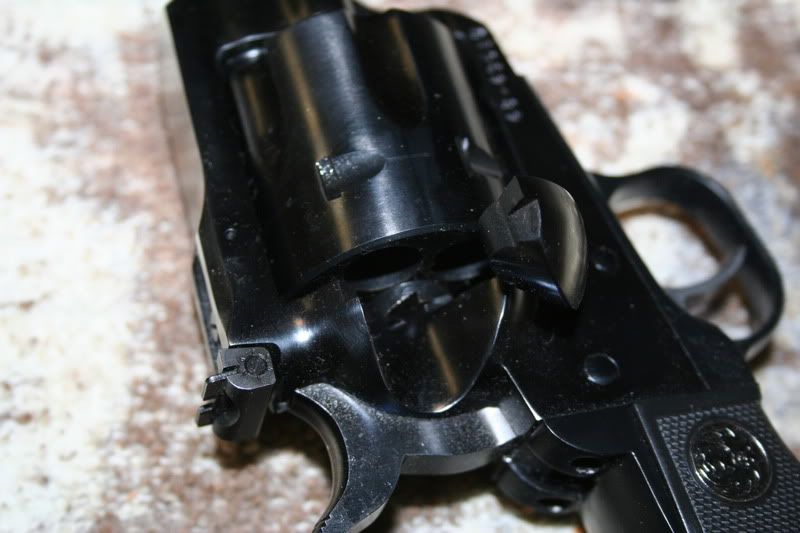
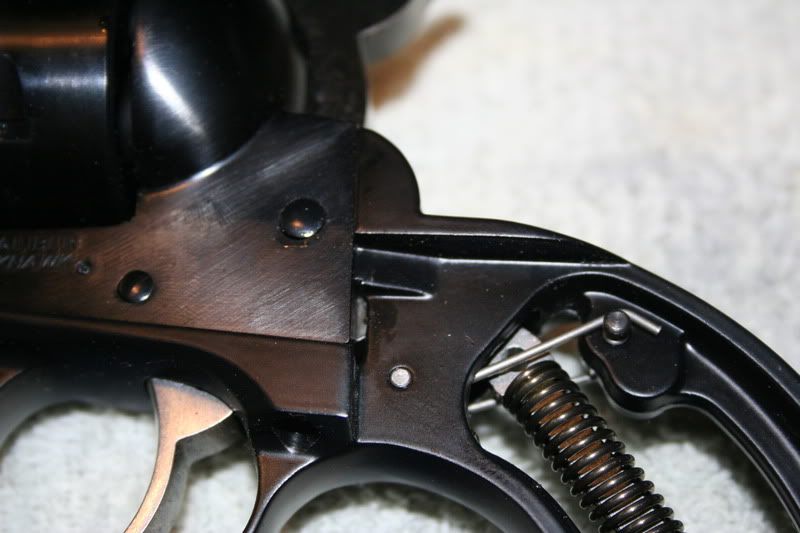
Now, we have to get the factory plastic things out of the way
 Why yes that is a "poorboy" trigger job
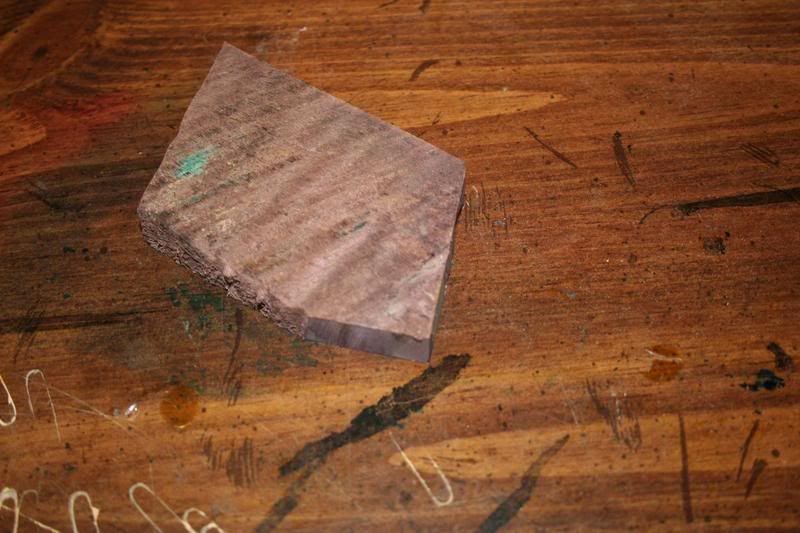
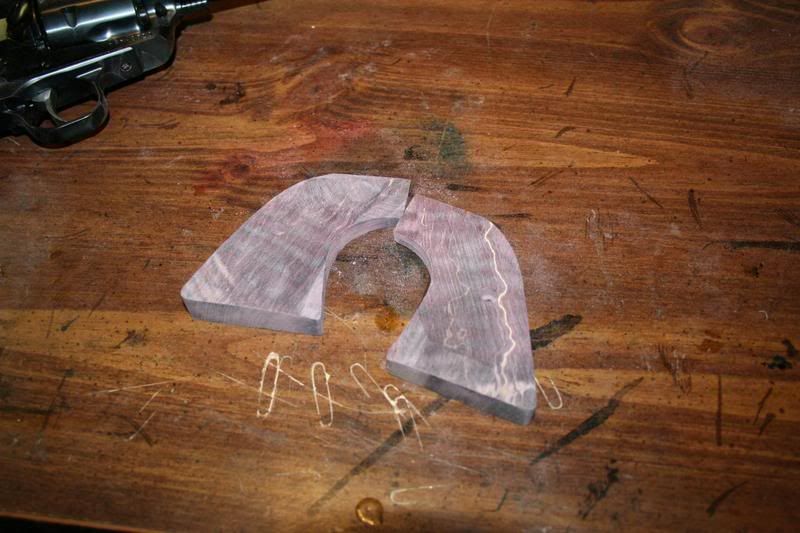
Now we need some wood, this happens to be stabilized curly maple
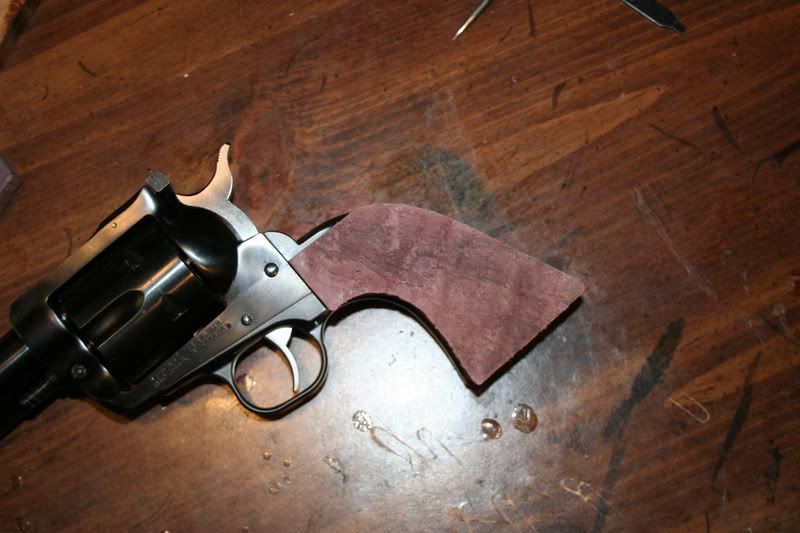
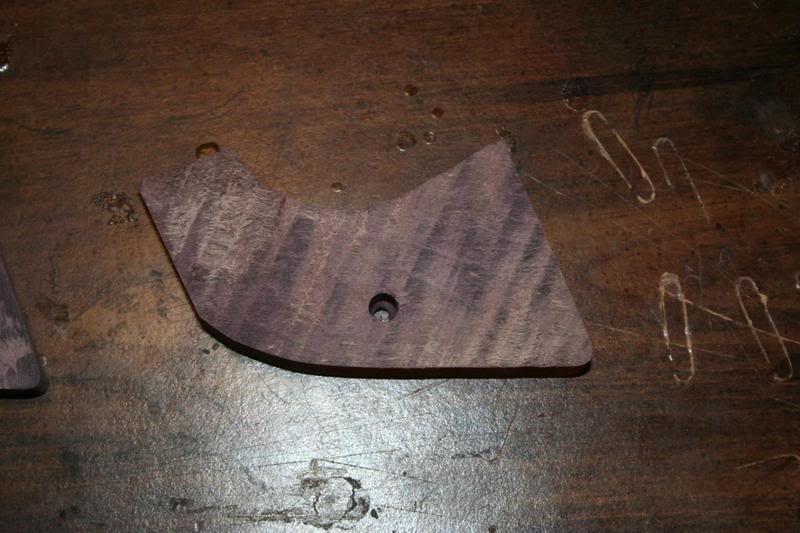
Scribe the outline of the grip onto the wood, when doing this make sure to take the time to match the direction of the grain from one side to the other, more on that later
Cut along the lines to fit the gun to the frame
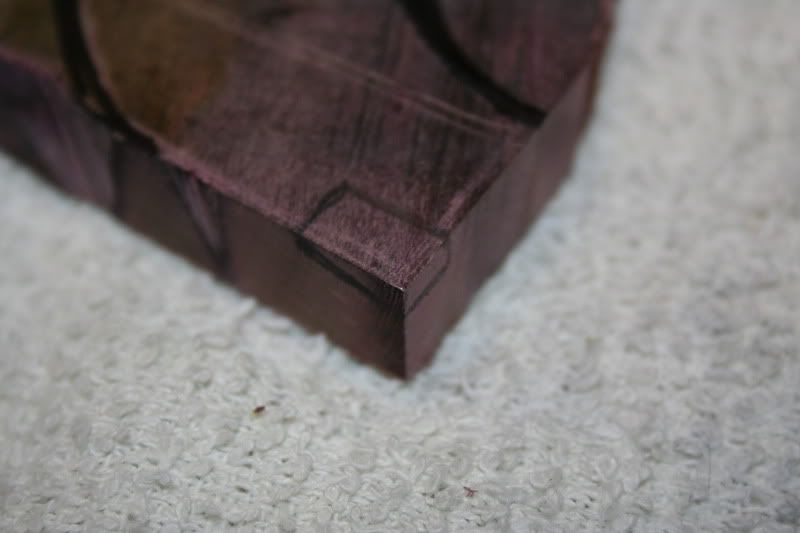
On this blackhawk we have to make some clearance on the back of the grips for the grip frame
After that we'll locate the hole for the roll pin
Trace out the area to sand away
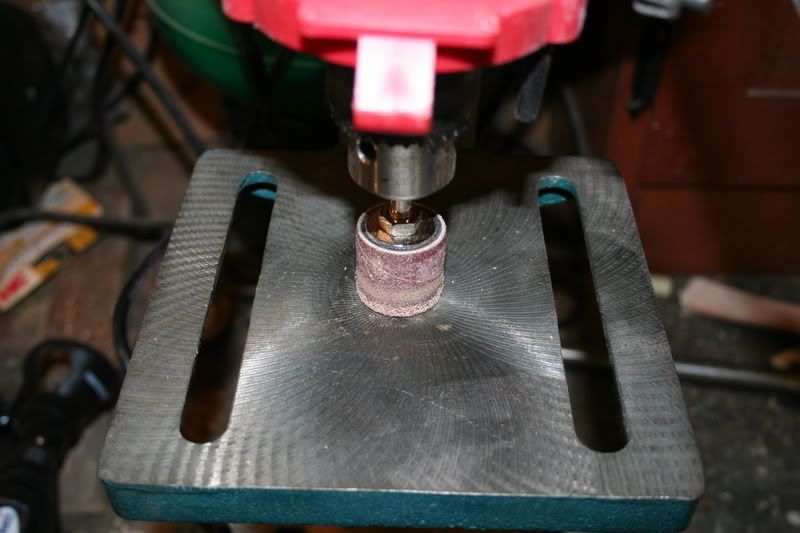
Now it is time for some dremel action. Yes I know this sanding drum is about hosed.
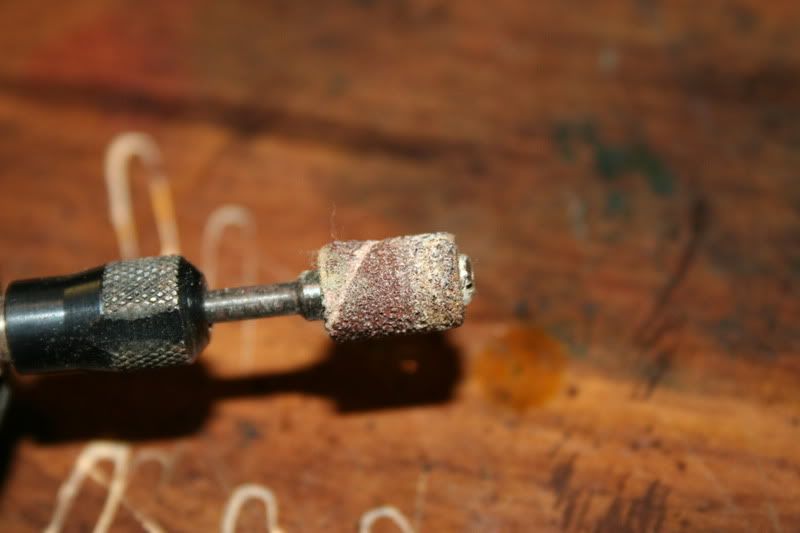
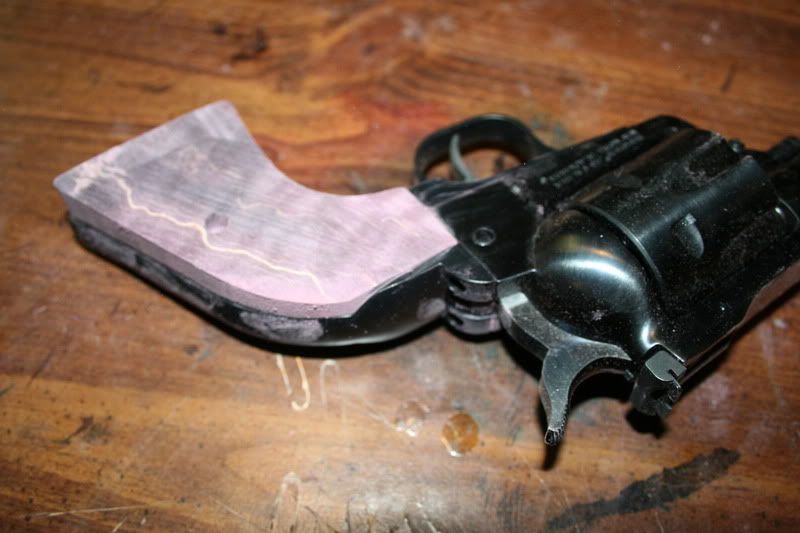
This should be good enough
It fits

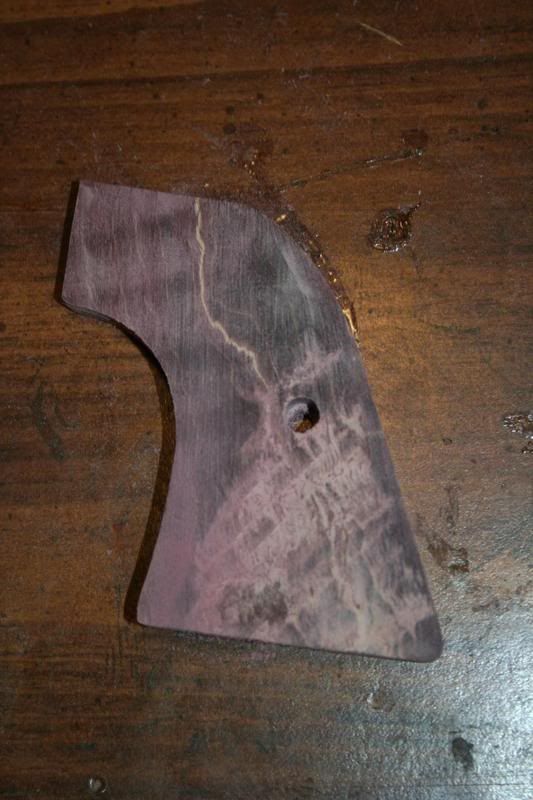
Now remove the roll pin, and mark the location to drill a hole in the grip. Drill this hole to a depth of 1/8"
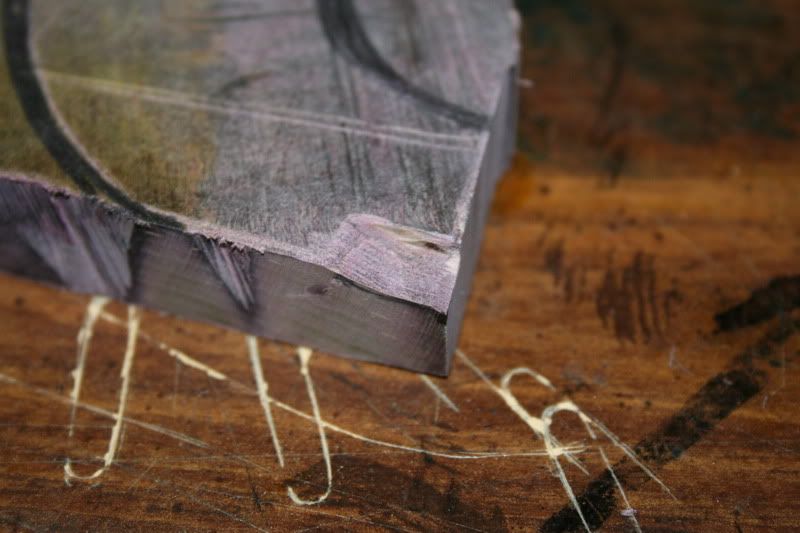
Now we can scribe around the grip frame, cut along our scribe line and start sanding
Make it fit nice

A sanding drum mounted on a drill press makes easy work of the inside curve
Lookin' good
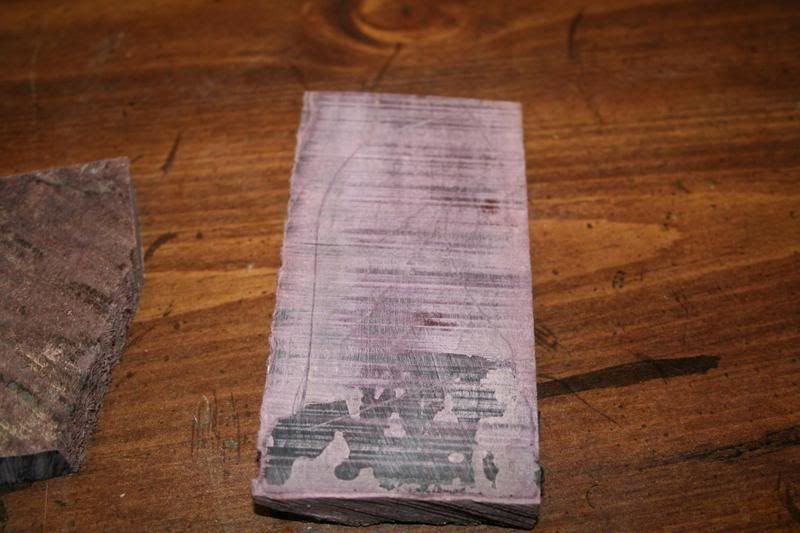
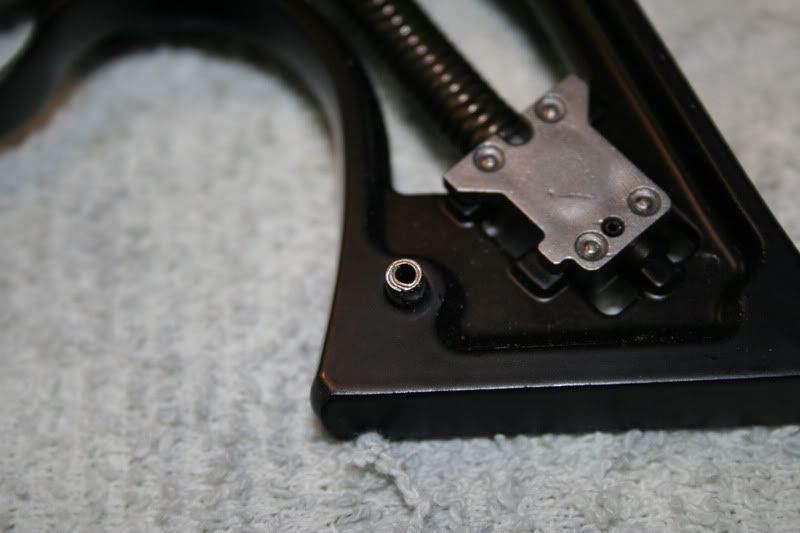
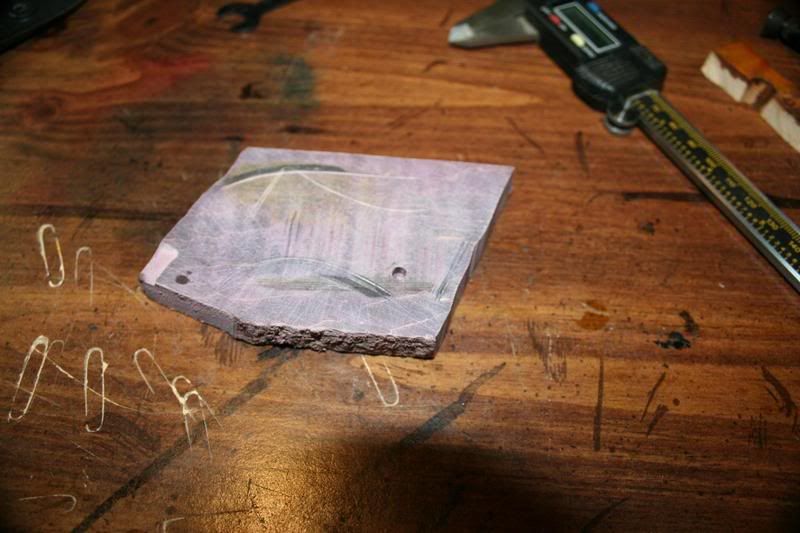
Now before we start to shape the grip we need to locate the hole for the grip screw, and counter sink the grip screw bushings into the grips
See the ledge to hold the bushing?
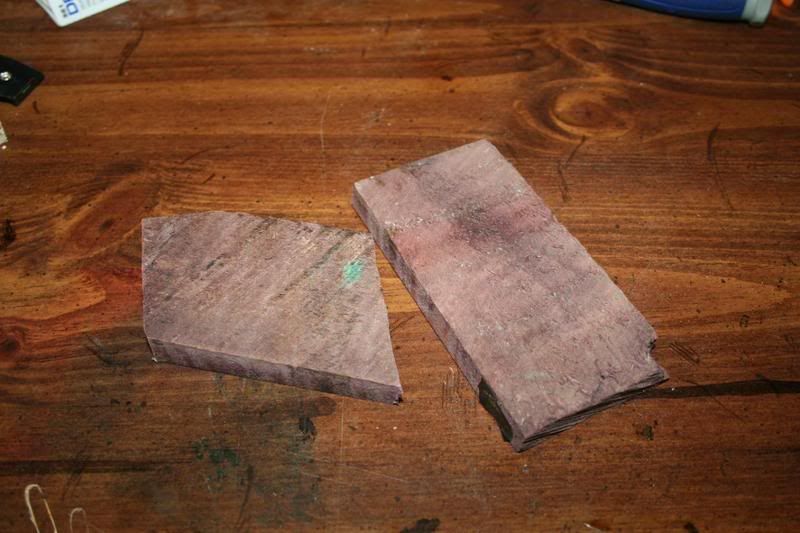
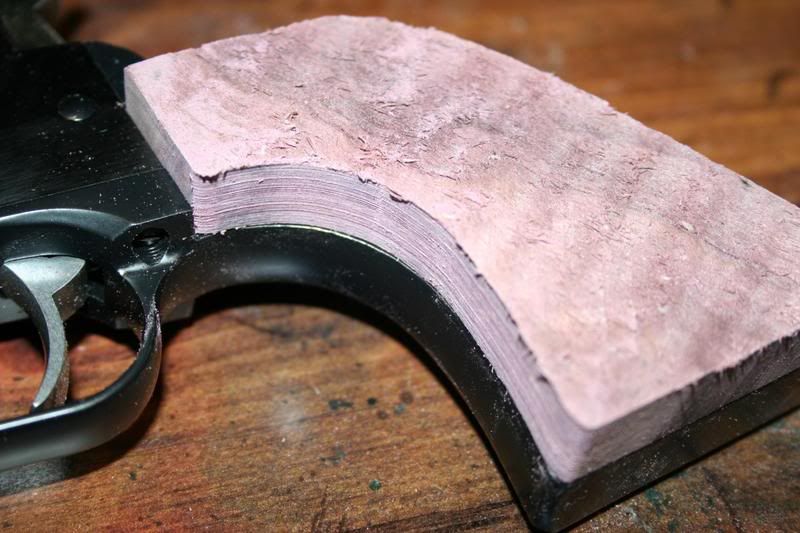
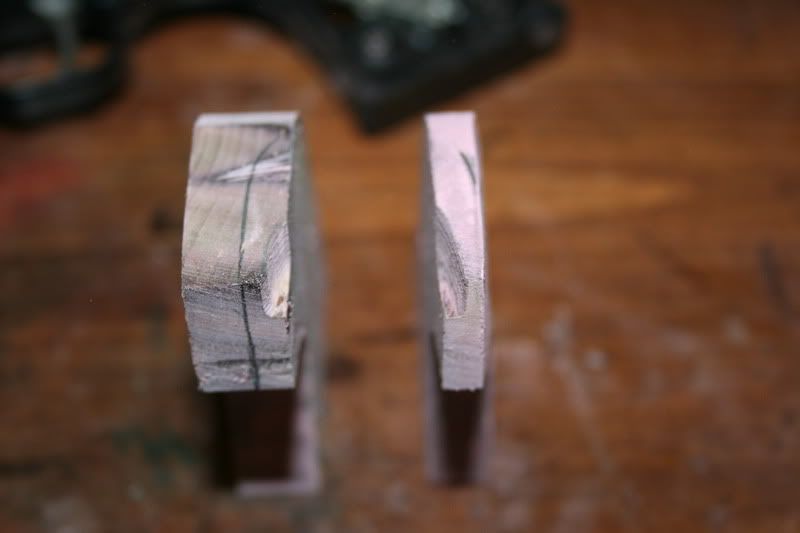
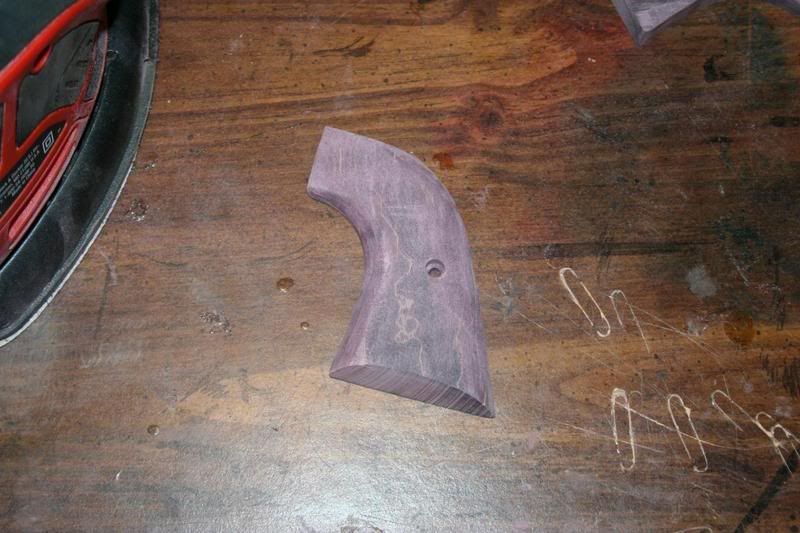
Now it's time to thin the grips down to match the frame
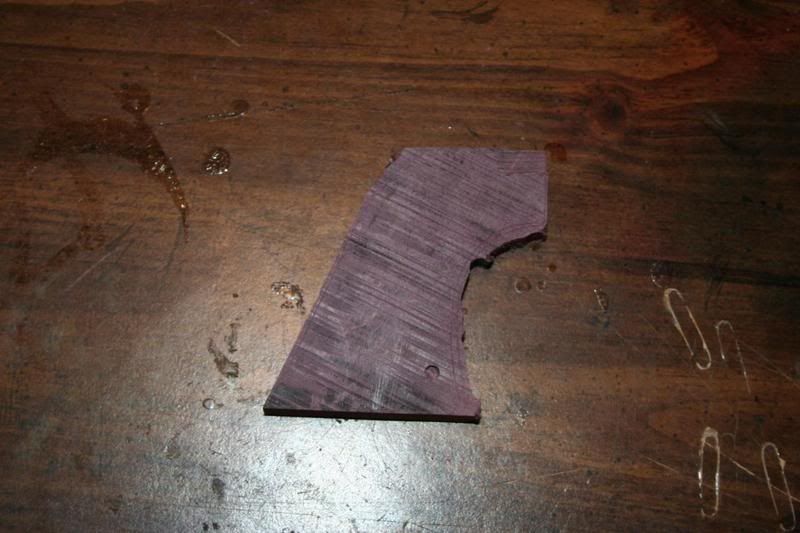
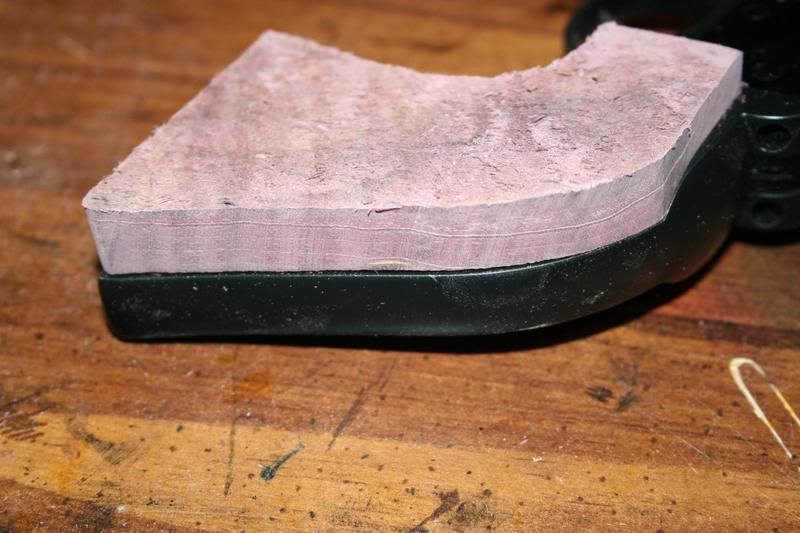
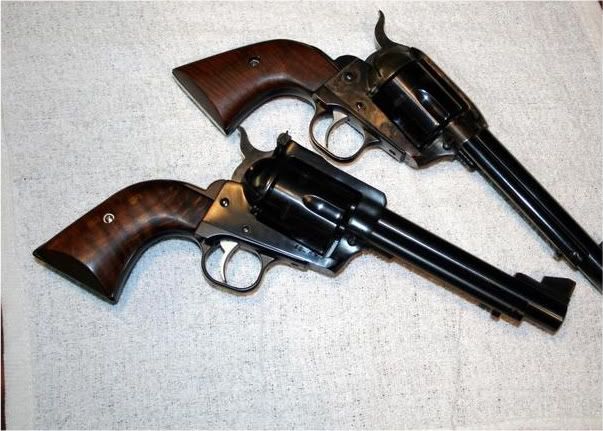
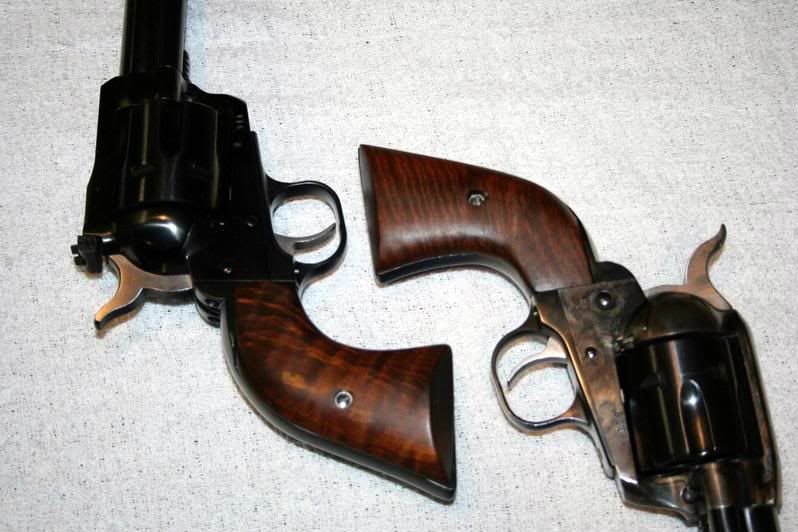
Sand the grips on a taper to get the thickness right. We need thin up top, and about 3/8" or so at the bottom. One the left is what we started out with, on the right is what we end up with
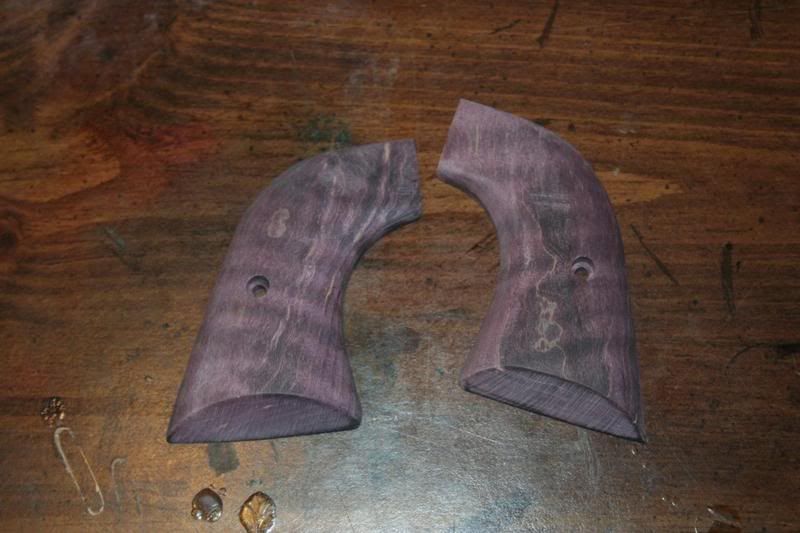
Remember when I said to match the direction of the grain? Notice how the grain of the wood I used runs up and down through my grips, while the curl runs from front to back at a slightly upward angle
Time to sand. I started out shaping with a belt sander running 80 grit, then moved on to a palm sander with 120 grit
I like the looks of grips with an angled bottom, so I put in a steep angle at the base using a 6" disc sander
Some more sanding with 220 grit. The wood I used wasn't the color I was really looking for, so out came the yellow food coloring. Yes I said yellow food coloring. Plain old yellow.
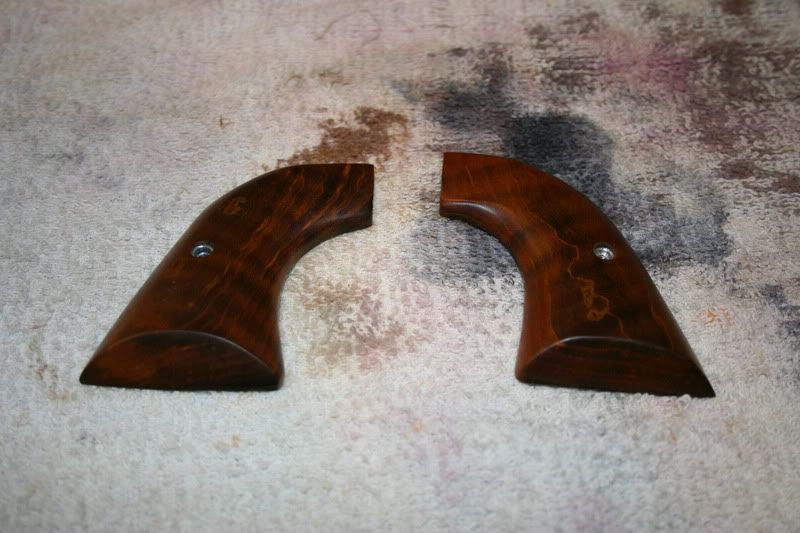
A run around on a loose buff with blue compound, and put on the gun
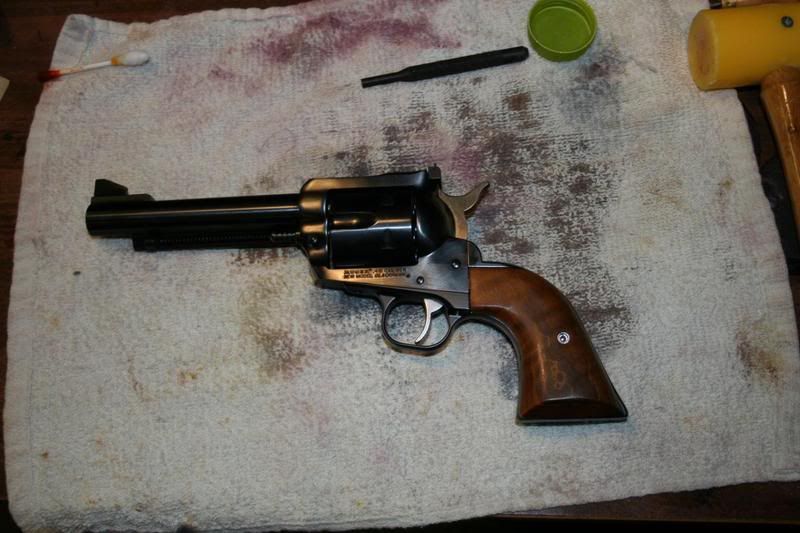
Gratuitous porn with the Vaquero sporting walnut grips
Time consuming? Yes. Worth every minute? IMHO, Hell Yes!Last edited by Lucas; February 14th, 2010 at 10:36 PM.
-
February 14th, 2010, 10:54 PM #2
Grand Member
- Join Date
- Mar 2009
- Location
-
.,
Pennsylvania
(Chester County) - Posts
- 1,089
- Rep Power
- 3949
Re: Ruger Blackhawk grips
Great write up. Fantastic looking grips!! Very nice job!!
Thanks for posting!!
-
February 14th, 2010, 11:15 PM #3
Moderator Emeritus
- Join Date
- Jan 2007
- Location
-
Pittsburgh,
Pennsylvania
(Allegheny County) - Posts
- 33,632
- Rep Power
- 21474887
Re: Ruger Blackhawk grips
Your wood gave me wood.
Hope to see that in person one of these days.I called to check my ZIP CODE!....DY-NO-MITE!!!
-
February 15th, 2010, 08:12 AM #4
Grand Member
- Join Date
- Jan 2007
- Location
-
Somewhere,
Pennsylvania
- Age
- 41
- Posts
- 1,171
- Rep Power
- 2090519
Re: Ruger Blackhawk grips
EM, I'll refrain from any number of "wanna touch my wood?" jokes. I'll make sure and bring this gun to the next group shoot I make it to, no telling when that will be though.
-
February 15th, 2010, 08:26 AM #5
Grand Member
- Join Date
- Apr 2007
- Location
-
Pittston,
Pennsylvania
(Luzerne County) - Posts
- 4,844
- Rep Power
- 21474858
Re: Ruger Blackhawk grips
Not to shabby..
troll Free. It's all in your mind.
-
February 15th, 2010, 09:33 AM #6
Grand Member
- Join Date
- Jul 2007
- Location
-
Oil City,
Pennsylvania
(Venango County) - Age
- 56
- Posts
- 2,772
- Rep Power
- 418438
Re: Ruger Blackhawk grips
Real Nice job, man

Glock Pistols.......So simple a Caveman could fix them!
-
February 15th, 2010, 10:13 AM #7
Active Member

- Join Date
- Jan 2009
- Location
-
Just outside of Lancaster,
Pennsylvania
(Lancaster County) - Posts
- 220
- Rep Power
- 4048081
Re: Ruger Blackhawk grips
You have the woodworking skills to pay the bills my friend! Nice job!
-
February 15th, 2010, 05:03 PM #8
Grand Member
- Join Date
- Jan 2007
- Location
-
OUT TO LUNCH
- Posts
- 4,570
- Rep Power
- 21474858
Re: Ruger Blackhawk grips
Great job! I enjoyed the step by step photos.
Jules
-
February 15th, 2010, 08:32 PM #9
Member
- Join Date
- Aug 2007
- Location
-
West Norriton,
Pennsylvania
(Montgomery County) - Posts
- 97
- Rep Power
- 334
Re: Ruger Blackhawk grips
Awesome grips!
- May the forCZe be with you.
-
February 15th, 2010, 09:56 PM #10
Grand Member
- Join Date
- Sep 2008
- Location
-
Lancaster,
Pennsylvania
(Lancaster County) - Posts
- 2,505
- Rep Power
- 13310019
Re: Ruger Blackhawk grips
Great job!!


 Reply With Quote


Similar Threads
-
ruger blackhawk 357 mag wts
By gutlucky in forum GeneralReplies: 6Last Post: December 12th, 2016, 10:41 PM -
Ruger Blackhawk .41 Mag
By Lone Wolf in forum GeneralReplies: 5Last Post: October 13th, 2009, 05:45 PM -
Ruger .357 Blackhawk SS
By jaeger in forum GeneralReplies: 0Last Post: April 23rd, 2009, 01:14 AM -
Blackhawk grips
By S&W 10mm in forum GeneralReplies: 8Last Post: March 19th, 2009, 04:31 PM -
Blackhawk grips, scope mount and rings
By PA1749 in forum GeneralReplies: 0Last Post: March 18th, 2009, 10:26 PM

Bookmarks